
If you are dedicated to managing your home’s electricity, tracking your metrics inside multiple, slow proprietary cloud apps is a headache. You check one app for your solar production, another for your smart plug outlets, and wait for your monthly utility bill to see how much grid power you imported.
To achieve true control, you need a single, local pane of glass. You need the Home Assistant Energy Dashboard.
Built natively into Home Assistant, the Energy Dashboard is an incredibly powerful, local-first engine that visualizes your entire house’s energy flows in real-time. It computes solar generation, utility grid imports and exports, home battery state-of-charge, and tracks specific appliance consumption—all completely locally and privately.
In this step-by-step, engineer-grade guide, we break down the hardware stack required to feed telemetry into Home Assistant, detail the mathematical equations used to convert raw Watts to cumulative kWh, and show you how to configure your native Energy Dashboard for maximum savings.
📋 Table of Contents
- 1. What is the Home Assistant Energy Dashboard?
- 2. Prerequisite Hardware: The Telemetry Stack
- 3. Responsive Product Comparison Table
- 4. Converting Raw Watts to Cumulative kWh: The Riemann Sum Integral
- 5. Step-by-Step Setup: Configuring the Dashboard
- 6. Advanced Setup: Local Climate Automations
- 7. Frequently Asked Questions (FAQs)
What is the Home Assistant Energy Dashboard?
The Home Assistant Energy Dashboard is not a simple chart page. It is a fully relational database engine that organizes your household’s electrical metrics into four distinct, cohesive blocks:
        [Grid Consumption (Utility)]    [Solar Production (Inverters)]
                     │                                 │
                     └────────────────┬────────────────┘
                                      │
                                      ▼
                      [🏠 Home Assistant Energy Dashboard]
                                      │
                                      ▼
                      [Individual Device Tracking]
                  (Smart Plugs, EV Chargers, HVAC)
- Grid Consumption: Tracking exactly when and how much power you import from the utility grid.
- Solar Production: Real-time generation telemetry from your grid-tied or plug-and-play balcony solar systems.
- Battery Storage: Monitoring battery state-of-charge (SOC) and real-time charging/discharging rates.
- Individual Devices: Deep, granular tracking of high-drain appliances (EV chargers, heat pumps, water heaters) using specialized local plugs.
Prerequisite Hardware: The Telemetry Stack
Home Assistant cannot measure electricity out of thin air. You must deploy physical sensors to feed data into your local smart home hub.
1. Home Assistant Green Smart Hub
The Perfect Plug-and-Play Local Smart Home Server
- MSRP: $99.00
- Protocol: Native local server
- Best For: Beginners wanting a dedicated, ultra-low power Home Assistant server
=========================================
          HA GREEN RATING
=========================================
Local Performance: ████████████████████ [10/10]
Setup Simplicity:  ████████████████████ [10/10]
Build Quality:     ████████████████░░░░ [8/10]
Value:             ████████████████████ [10/10]
=========================================
If you are running Home Assistant on an old, unreliable Raspberry Pi or a power-hungry desktop computer, it is time to upgrade. The Home Assistant Green is the official, pre-configured hardware hub designed to run your smart home 24/7. It draws less than 3 Watts of idle power, has an ultra-reliable solid-state design, and boots up instantly.
- Pros: Zero setup required; extremely energy efficient; official direct developer support.
- Cons: Lacks built-in Zigbee or Z-Wave radios (requires adding a USB coordinator).

- CUSTOM FIT: Precisely engineered wall mount designed specifically for Home Assistant Green, providing a secure and stable mounting solution
- SPACE-SAVING DESIGN: Get your smart hub off countertops while maintaining easy access, perfect for decluttering your living space
- EASY INSTALLATION: Includes all necessary mounting hardware and installation guide for quick setup on any wall surface
2. Emporia Vue Gen 2 Smart Home Energy Monitor
The Best Whole-House Circuit-Level Telemetry Engine
- MSRP: $149.99 (with 16 circuit clamps)
- Protocol: Wi-Fi (supports local ESPHome flashing)
- Best For: Direct physical monitoring of up to 16 individual circuit breakers
=========================================
      EMPORIA VUE GEN 2 RATING
=========================================
Telemetry Speed:  ████████████████████ [10/10]
Hardware Accuracy: ████████████████████ [10/10]
Setup Difficulty:  ████████████░░░░░░░░ [6/10]
Value:            ████████████████████ [10/10]
=========================================
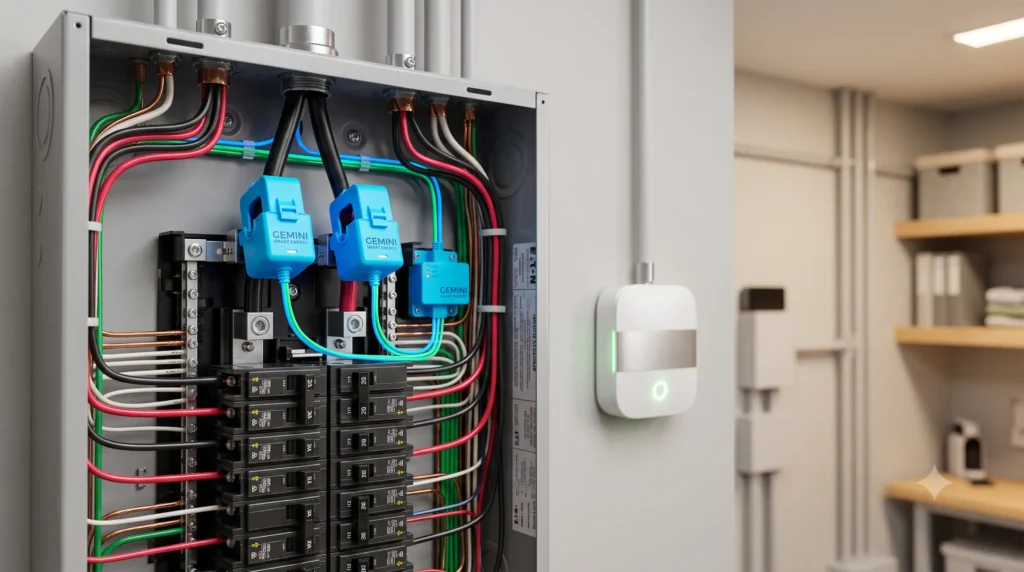
To feed whole-house grid consumption and solar export metrics into Home Assistant, a CT-clamp monitor is an absolute necessity.
The Emporia Vue Gen 2 remains the gold standard, as discussed in our best smart home energy monitors guide. It snaps directly onto your main utility breakers and branch lines, feeding physical, accurate wattage straight into your database dashboard.
- Pros: 99% accuracy; extremely affordable; supports local ESPHome flash overrides.
- Cons: Installation requires opening your main service panel cover.

- Appliance Monitoring: Equipped with two 120A sensors, this device provides precise monitoring for appliances like air conditioners, furnaces, water heaters, washers, and dryers. It seamlessly integrat…
- Energy Monitoring: Monitor real-time power consumption from anywhere to help prevent costly repairs and reduce energy expenses. Track key metrics such as power usage, voltage, current, and power facto…
- Real-Time Data: Requires 2.4 GHz Wi-Fi with internet access for app-based monitoring. The device provides data with ±2% accuracy, using two 120A current transformer (CT) clamp sensors. It supports bid…
3. Athom ESPHome Smart Plug v2 (US Version)
Best Pre-Flashed Local Plug for Individual Appliance Telemetry
- MSRP: $13.90
- Protocol: Wi-Fi (ESPHome local API)
- Best For: Instant local tracking of washing machines, fridges, or server racks
=========================================
        ATHOM ESPHOME PLUG RATING
=========================================
Local Latency:    ████████████████████ [10/10]
Setup Speed:      ████████████████████ [10/10]
Value:            ████████████████████ [10/10]
=========================================
For individual appliances that you don’t have CT clamps for, using smart plugs is the easiest solution.
The Athom ESPHome Plug is our top pick from our best smart plugs with local energy monitoring review. Because it ships pre-flashed with open-source ESPHome, it communicates locally over your Wi-Fi network with near-zero latency, allowing for seamless real-time automation.
- Pros: 100% cloud-free; pre-flashed ESPHome; sub-second power updates.
- Cons: Slightly bulky design.

- Amazon Smart Plug works with the Alexa app and compatible Alexa devices to add voice control to any electrical outlet.
- Simple setup – No smart home hub required. Just plug it in, open the Alexa app and follow the stress-free directions to get started in minutes.
- Compatible with many lamps, fans, coffee makers, and other household devices with a physical on/off switch.
Responsive Product Comparison Table
| Product Name | Core Protocol | Connection Type | Purpose | Main Benefit | Price Range | Ideal For |
|---|---|---|---|---|---|---|
| HA Green | Ethernet | Native Local | Core Hub | Pre-configured, ultra-reliable local hub. | $ (Budget, ~$99) | Home Assistant beginners wanting a stable server. |
| Emporia Vue Gen 2 | Wi-Fi | Circuit Clamps | Whole House | Physical tracking of 16 individual circuits. | $$ (Mid, ~$149) | Homeowners seeking whole-panel and solar metering. |
| Athom ESPHome v2 | Wi-Fi | Smart Plug | Individual | Sub-second, local appliance tracking. | $ (Budget, ~$14) | Smart home purists looking for offline telemetry. |
Converting Raw Watts to Cumulative kWh: The Riemann Sum Integral
A major roadblock for beginners is trying to add their smart sensors to the Energy Dashboard, only to find they are completely missing from the configuration dropdown menu.
Why is My Sensor Missing?
The Home Assistant Energy Dashboard only reads cumulative kilowatt-hours (kWh)—meaning energy consumed over time.
However, many smart plugs and monitors only broadcast raw Power (Watts)—which is the instantaneous electrical rate. Trying to feed raw Watts into the Energy Dashboard is like trying to calculate your vehicle’s total distance driven using only your speedometer’s current speed reading.
The Math: Riemann Sum Integral
To convert raw power (Watts) to cumulative energy (kWh), you must perform a mathematical integration over time. Home Assistant makes this incredibly simple using the Riemann Sum Integral helper.
Go to Settings ➔ Devices & Services ➔ Helpers, click Create Helper, and select Integration – Riemann sum integral sensor. Input these exact configurations:
* Input Sensor: Select your raw power sensor (e.g., sensor.refrigerator_power).
* Integration Method: Select Left Riemann sum. (Do not choose Trapezoidal, as it causes massive math compounding errors on spike-based appliances like refrigerators or microwaves).
* Metric Prefix: Select k (kilo).
* Time Unit: Select h (hours).
Click create. Home Assistant will now generate a new sensor (e.g., sensor.refrigerator_power_integral_kwh) that tracks cumulative consumption. This new sensor is fully compatible and will appear inside your Energy Dashboard dropdown instantly!
Step-by-Step Setup: Configuring the Dashboard
Once your sensors are prepared and showing proper kWh metrics, navigating the configuration is simple.
                      [Home Assistant Energy Tab]
                                  │
         ┌────────────────────────┼────────────────────────┐
         ▼                        ▼                        ▼
┌─────────────────┐      ┌─────────────────┐      ┌─────────────────┐
│GRID CONSUMPTION │      │SOLAR PRODUCTION │      │INDIVIDUAL DEV.  │
├─────────────────┤      ├─────────────────┤      ├─────────────────┤
│ • Add Grid kWh  │      │ • Add Solar kWh │      │ • Add Plug kWh  │
│ • Set Cost ($)  │      │ • Set Export ($)│      │ • Trace Loads   │
└─────────────────┘      └─────────────────┘      └─────────────────┘
- Add Grid Consumption: Go to Settings ➔ Dashboards ➔ Energy. Under “Grid Consumption,” click “Add Consumption.” Select your main import kWh sensor. Optionally, choose “Use a static price” and enter your baseline utility tariff (e.g.,
$0.16 per kWh) to have Home Assistant compute running financial costs. - Add Solar Production: Under “Solar Production,” click “Add Solar Production.” Select your solar inverter’s cumulative generation kWh sensor.
- Add Grid Export (Net Metering): If you have bi-directional CT clamps, add your main grid export kWh sensor under “Return to grid” to compute your net metering credits in real-time.
- Add Individual Devices: Under “Individual Devices,” add your smart plug energy sensors (such as your refrigerator, server rack, and water heater).
- Let the Database Compile: Home Assistant compiles energy statistics once every hour. Leave the dashboard alone for 2 hours; when you return, you will be greeted by beautiful, interactive consumption grids and cost analysis flows!
Advanced Setup: Local Climate Automations
Once your Energy Dashboard is fully populated, you can see which specific appliances are driving up your bills.
By pairing your telemetry with smart climate systems (like the best smart thermostats with solar tracking), you can write automations to pre-cool your house during off-peak morning hours, storing free solar thermal energy directly inside your home’s structural mass before evening peak utility spikes begin!
Frequently Asked Questions (FAQs)
Q1: Why are my energy sensors not appearing in the Energy Dashboard configuration?
As detailed in our Riemann Sum section, the Energy Dashboard requires cumulative energy sensors with a state class of total_increasing and unit of measurement in kWh or Wh. If your hardware only exposes raw power in W (Watts), you must convert it using the Left Riemann Sum helper before it can be parsed.
Q2: What is the difference between Left, Right, and Trapezoidal Riemann Sums?
- Left Riemann Sum: Assumes power consumption remains at its last known level until a new metric arrives. This is highly accurate for appliances that switch on and off in sharp blocks (like refrigerators, water heaters, and smart plugs).
- Trapezoidal Riemann Sum: Assumes power changes linearly between two metrics. This is highly inaccurate for spike-based appliances and will cause massive cumulative calculation errors.
Q3: Can the Home Assistant Energy Dashboard track Time-of-Use (TOU) rates?
Yes. Under your Grid Consumption configuration, instead of selecting “static price,” you can choose “Use an entity tracking physical price.” By integrating utility APIs or writing a local Template Sensor that shifts price values based on current clock hours (e.g., $0.15 off-peak vs. $0.45 peak), Home Assistant will calculate your electrical costs with 100% financial accuracy.

Pingback: Plug-and-Play Balcony Solar Systems With Battery Storage (2026 Guide) - GADGET EARTH
Подарите своей возлюбленной незабываемое впечатление — выберите купить кольцо с бриллиантом и сделайте предложение, которое запомнится на всю жизнь.
Первое предложение одного абзаца о качестве камней.